SETTING UP APACHE SUPERSET ON HEROKU
This article was inspired by “Running Airflow on Heroku”, a Medium post written by Dames Avram. I would also like to give special recognition to Justin Zint whose work helped me in overcoming a lot of the difficulties I encountered.
You would find my GitHub repository containing all the files and codes used in this article here. You can also find a dashboard that I hosted on my Heroku app called “NBA Players Dashboard” here.
AIM
The aim of this article is to get you up and running with an Apache Superset instance running on Heroku (free tier). This would provide you with a means of:
· Creating beautiful, interactive charts and dashboards online
· Exploring datasets and databases using the SQL lab feature
· Hosting superset remotely, sharing your work with members of your team and the public.
It helps if you have an understanding of Heroku’s platform and its limits. Some keywords to look out for include account types, dynos, apps, builds, logs, router, API, Heroku Postgres, etc. It would also be useful if you know how to use the command-line interface on your operating system (Mac, Linux, or windows).
SETUP
You would need to install the following programs on your local computer
Python — I used version 3.7.9. Download the executable installer (x86 for 32 bit systems and x86–64 for 64 bit systems) or Anaconda(https://www.anaconda.com/products/individual).
You would also need to have a Heroku account (register here).
APACHE SUPERSET
Apache Superset is an open-source, data exploration and visualization platform. I came across it while searching for an efficient, free, and open-source alternative to PowerBI and Tableau. It
· Is lightweight, powerful yet easy to use
· Has a modern architecture that is highly scalable
· Possesses rich visualization and dashboards
· Has a feature called SQL Lab which can be used to query and interact with various datasets and databases
· Is cloud agnostic
· Is cloud-native i.e it is flexible and lets you choose your web server (Gunicorn, Nginx, Apache), your metadata database engine (MySQL, Postgres, MariaDB, …), your message queue (Redis, RabbitMQ, SQS, …), your results backend (S3, Redis, Memcached, …), your caching layer (Memcached, Redis, …), etc.
PROCEDURE
Setting up a Local Project
The first step is setting up the project on your local computer. You should start by creating an empty folder in any location of your choice (preferably where you save your other projects) and giving it a name; mine is called NBA_Dashboard.
Creating a New Virtual Environment
A quick reminder, make sure you click on add to path when installing python3.7.9. Open a command-line interface which can be Command Prompt, Bash, or something else (I use a windows computer so command prompt), navigate to the folder you just created and create a new virtual environment with python. If u get an error for using the “python3” keyword use “python” instead.
cd <path to your project folder>python3 -m venv .venv.venv\Scripts\activate.batpip install -- upgrade setuptools pip
If you are using Anaconda u can simply
· create a new conda environment specifying the python version as 3.7.9
· activate the environment
· install all the requirements below
· run anaconda prompt
· navigate to the project folder
· run pip freeze > requirements.txt
Installing Apache Superset
Note: In case the keyword “pip” returns an error, make use of “pip3” instead.
First, we need to install cryptography as it is a requirement for Apache Superset.
pip install cryptographyNext, we install a python database adapter library. By default, Superset uses sqlite3 as its default database and this would be a disadvantage for us as it doesn’t allow multiple concurrent connections. For this reason, we would utilize a standard database; in this case, Heroku Postgres which allows up to 20 connections. The python database connector for Postgres is called “psycopg2”
pip install psycopg2We then install Apache Superset.
pip install apache-supersetFinally, we create a “requirements.txt” file that holds all Apache Superset’s dependencies
pip freeze > requirements.txtAdding Other Requirements
Inside your project folder, create a “.gitignore” file, paste the following inside it and save. This tells git the type of files we don’t want in our repository.
.ipynb_checkpointscatboost_info.venv/__init__.py__pycache__/
Next, create a “Procfile” (The name ‘Procfile’ is case-sensitive), paste the following inside it and save. The Procfile instructs Heroku on what type of process to run.
web: superset db upgradeThen, create a “runtime.txt” file, paste the following inside it and save. This tells Heroku what version of python it should install
python-3.7.9Finally, we create a “superset_config.py” file, paste the following inside it and save.
import os# Superset specific configROW_LIMIT = 5000SUPERSET_WORKERS = 4 # for it to work in heroku basic/hobby dynos increase as you likeSUPERSET_WEBSERVER_PORT = os.environ['PORT']MAPBOX_API_KEY = os.getenv('MAPBOX_API_KEY')# Flask App Builder configuration# Your App secret keySECRET_KEY = 'Enter your secret key here'# The SQLAlchemy connection string to your database backend# This connection defines the path to the database that stores your# Superset metadata (slices, connections, tables, dashboards, …).# Note that the connection information to connect to the datasources# you want to explore are managed directly in the web UISQLALCHEMY_DATABASE_URI = os.environ['DATABASE_URL']# CACHE_CONFIG = {# ‘CACHE_TYPE’: 'redis',# ‘CACHE_DEFAULT_TIMEOUT’: 86400,# ‘CACHE_KEY_PREFIX’: 'superset_results',# ‘CACHE_REDIS_URL’: 'redis://localhost:6379/0'}SQLALCHEMY_TRACK_MODIFICATIONS = True# Flask-WTF flag for CSRF.WTF_CSRF_ENABLED = CSRF_ENABLED = True# use inserted X-Forwarded-For/X-Forwarded-Proto headersENABLE_PROXY_FIX = TrueSQLLAB_ASYNC_TIME_LIMIT_SEC = 300SQLLAB_TIMEOUT = 300SUPERSET_WEBSERVER_TIMEOUT = 300PUBLIC_ROLE_LIKE = 'Gamma'
We would need to edit the file above though, changing the secret key to one we generated. We can get a secret key using the python library “cryptography”. Open up a python console and type the following commands to get your secret key.
>>> from cryptography import fernet
 >>> fernet.Fernet.generate_key()
Update the value of the SECRET_KEY variable in superset_config.py to the value we get from the code above and then save
Version Control with Git
Using your file explorer, navigate to your project folder and run git bash. You can run these codes one after the other
git initgit add *git add .gitignoregit commit -m "Initial commit"
Deploy to Heroku
Assuming the Heroku CLI tool has been installed and you have created your Heroku account, log in to Heroku.
heroku loginPress enter, login in then go back to git bash. You can exit logs by pressing “ Ctrl + c” and typing “N” then press enter. Next, create your new Heroku app
heroku create <your app name>This would create your new app on Heroku and assign a remote repository to your local project. This makes pushing very easy. What is left is adding a free Heroku-Postgres (free tier) instance.
heroku addons:create heroku-postgresql:hobby-devFinally, push to Heroku. Pay attention to the log stream and note the presence of any error during the process.
git push heroku masterOur local config file “superset_config.py” gets used by Heroku during the build. Our runtime first gets installed, then pip, then sqlite3 and all the dependencies in our “requirement.txt” file. The “Procfile” instructs Heroku to upgrade the database which in this case is our Heroku-PostgreSQL database which the config file points to.
Once the app has been successfully deployed, the next step is to check the logs to verify that there are no errors.
heroku logs –-tailIf there are no errors, exit the logs by pressing “ Ctrl + c” and typing “N” then press enter.
Creating an Admin User
First, we need to run a bash instance.
heroku run bashNext, create an admin user (you will be prompted to set a username, first and last name before setting a password) and initialize the database with the new credentials. Run the following one at a time.
export FLASK_APP=supersetsuperset fab create-adminsuperset initexit
The last piece of the puzzle is to start up the web server by editing the “Procfile” and replacing the existing text with
web: gunicorn "superset.app:create_app()"If you looked at the superset documentation, the server was started using a different code. We are making use of the Gunicorn server because it happens to be very efficient at managing resources and connections. It is also a production grade server. If you are using the Heroku free tier database the limit is 10000 rows with a max size of 20MB. Also, if you are using an unverified account, you are only allowed 1 gyno process complete with 512mb of RAM. Due to these low specs, we really needed to optimize the entire project to be able to work on this setup. We also need to avoid using a cache like Redis to prevent it from filling up the database and disrupting our service.
Add and commit the changes to git then push to heroku master.
git add *git commit -m "Edited Procfile"git push heroku master
Check for errors using
heroku logs --tailEt Voila!!!
You can now open up your app by typing
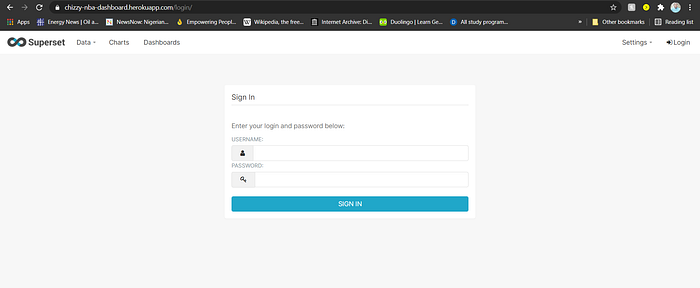
heroku open
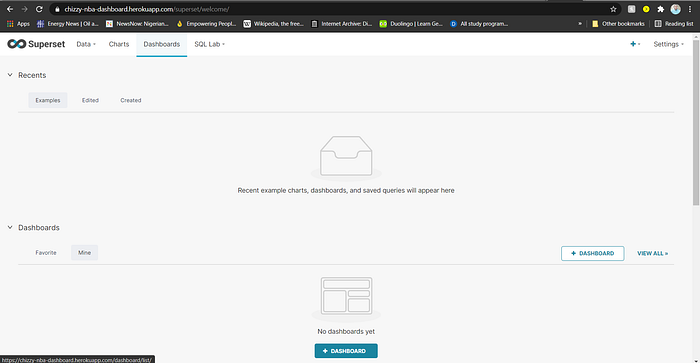
Log in, and you are good to go!!! Enjoy.